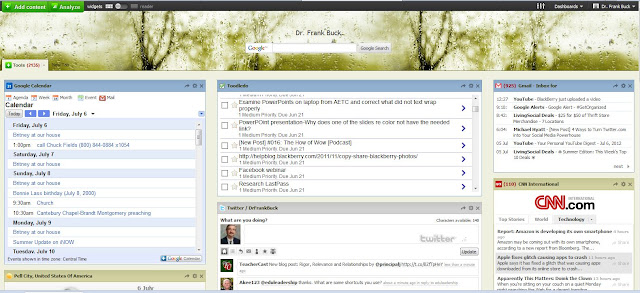
The last two posts have examined Netvibes as an alternative to iGoogle. Last week, Google announced iGoogle would shut down in November 2013, meaning current users need another way to organize our online lives.
In this post, we explore how to share Netvibes content with others. Sharing can happen in three ways: sharing a widget, sharing a tab, or creating a public page.
Sharing a Widget
Suppose you want to share your entire Google Bookmarks widget with someone else. Click on the curved arrow which appears on the widget's title bar.
 |
| Share a Netvibes Widget |
When the box appears, choosing the "grab a link" tab produces a URL. Give that URL to others with whom you wish to share the tab. When they visit that URL, they will be able to add the widget, with its contents, to their own Netvibes page."Send by e-mail" would accomplish the same outcome.
 |
| Share by E-Mail or "Grab a Link" (URL has been whited-out) |
Sharing a Tab
Sharing an entire tab is much like sharing a widget. Beside the name of the tab, click the arrow point to reveal the option to "Share this tab."
 |
| Share a Tab |
A box appears that looks exactly like the one you saw when sharing a widget. In this example, I am showing how the box appears when you "share by email." You can change the text of the message if you wish.
 |
| Share a Tab Through E-Mail |
Here is how the e-mail appears to the recipient:
 |
| Here is the E-Mail They Receive |
Clicking the green button will add the tab to their Netvibes page. How you could use this in your organization? One person could build a page of widgets which would be needed by everyone. Rather than everyone building the same tab, sharing it saves time and insures everyone has the same information. I am not sure if others can change the contents of the tab and those changes be applied to that tab for all who share it. If someone else has had experience in that area, I would be interested in hearing what you found.
Creating a Public Page
You have the ability to create a tab that is public. With this option, one does not need to have a Netvibes account to see the page. All they need is the URL.
To create a public page, click "Dashboards" in the upper right corner, and "Activate my public page."
 |
| Create a Public Page |
You will see a box where you will click to create your public page.
 |
| Activating Your Public Page |
This option would be perfect for a teacher who wants to set up resources for students. The page might include the weather forecast and news feeds. It could include a list of bookmarks. It could include a Google Calendar where assignments and upcoming school events are posted.
Please realize I have been using Netvibes only a few days. On the one hand, you see that a page can be set up quickly. On the other hand, I am surely missing some tricks along the way. I welcome ideas from others who have more experience with Netvibes. I also welcome comments from those those new to the service.
If you would like to learn more about the capabilities of Netvibes, you can download a complete user guide.
Come on over and continue the Netvibes discussion on my Facebook page. Please "Like" the page and join the discussion.

No comments:
Post a Comment